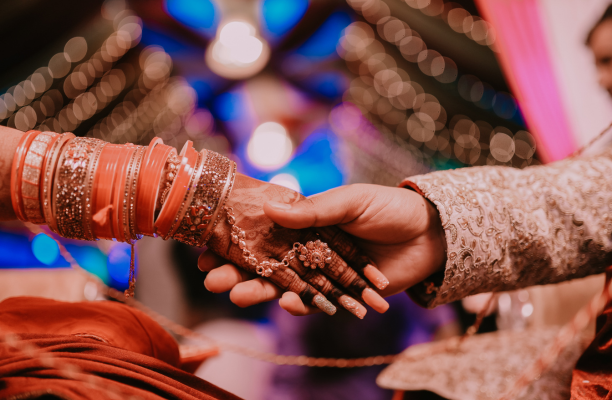
Planning a wedding is a deeply personal journey, and one of the first detail couples usually send to their guests is the save-the-date. This early wedding announcement sets the tone for the big day and builds anticipation among friends and family. While there are countless pre-designed options available online, nothing quite compares to the charm and sentiment of DIY save the dates.
Not only do they reflect your personality and creativity, but they also offer a budget-friendly alternative that’s both special and enjoyable to design. DIY invitations allow couples to break away from cookie-cutter templates and craft something that truly speaks to their story. Whether you’re working with paper, digital tools, or handmade touches, the possibilities are endless.
In this blog, we will explore the top 10 DIY save the dates ideas you can try at home, each thoughtfully selected to inspire your creative side. Whether you’re a crafty beginner or an experienced DIY enthusiast, you’ll find ideas that are simple, stylish, and sure to impress.
Best of all, these projects can be done using materials you likely already have at home.
1. Hand-Painted Save the Dates
Adding a Personal Artistic Touch
Hand-painted save the dates are one of the most unique and heartfelt ways to announce your wedding. They provide a personal touch that printed cards simply cannot replicate. By creating DIY save the dates, you are not just sending out a notification of your special day—you are sharing a piece of your personality and creativity with your guests. Whether you enjoy watercolors, acrylics, or fine-line sketches, hand-painted wedding invitations feel like a tiny work of art, leaving a lasting impression on everyone who receives them.
Materials Needed
To craft these at home, gather quality watercolor or acrylic paper, a variety of brushes, paints, and pens for lettering. Optional items like gold or silver accents, stencils, or stamps can add extra charm. Choosing thicker, textured paper ensures the cards feel substantial and professional. For those new to painting, start with simple designs such as florals, geometric patterns, or abstract washes.
Tips for Design
- Use your wedding colors to create a cohesive theme.
- Incorporate hand-lettered names, dates, or short messages to make each card personal.
- Experiment with layering colors, adding subtle backgrounds, or combining different painting techniques for a richer look.
- Consider creating a series of designs with slight variations so each guest receives a unique card.
Hand-painted DIY save the dates are more than just invitations; they are keepsakes that guests will cherish. Taking the time to craft each one showcases care, creativity, and thoughtfulness, making them a perfect introduction to your wedding celebration.
2. Photo Collage Save the Dates
Celebrating Your Love Story
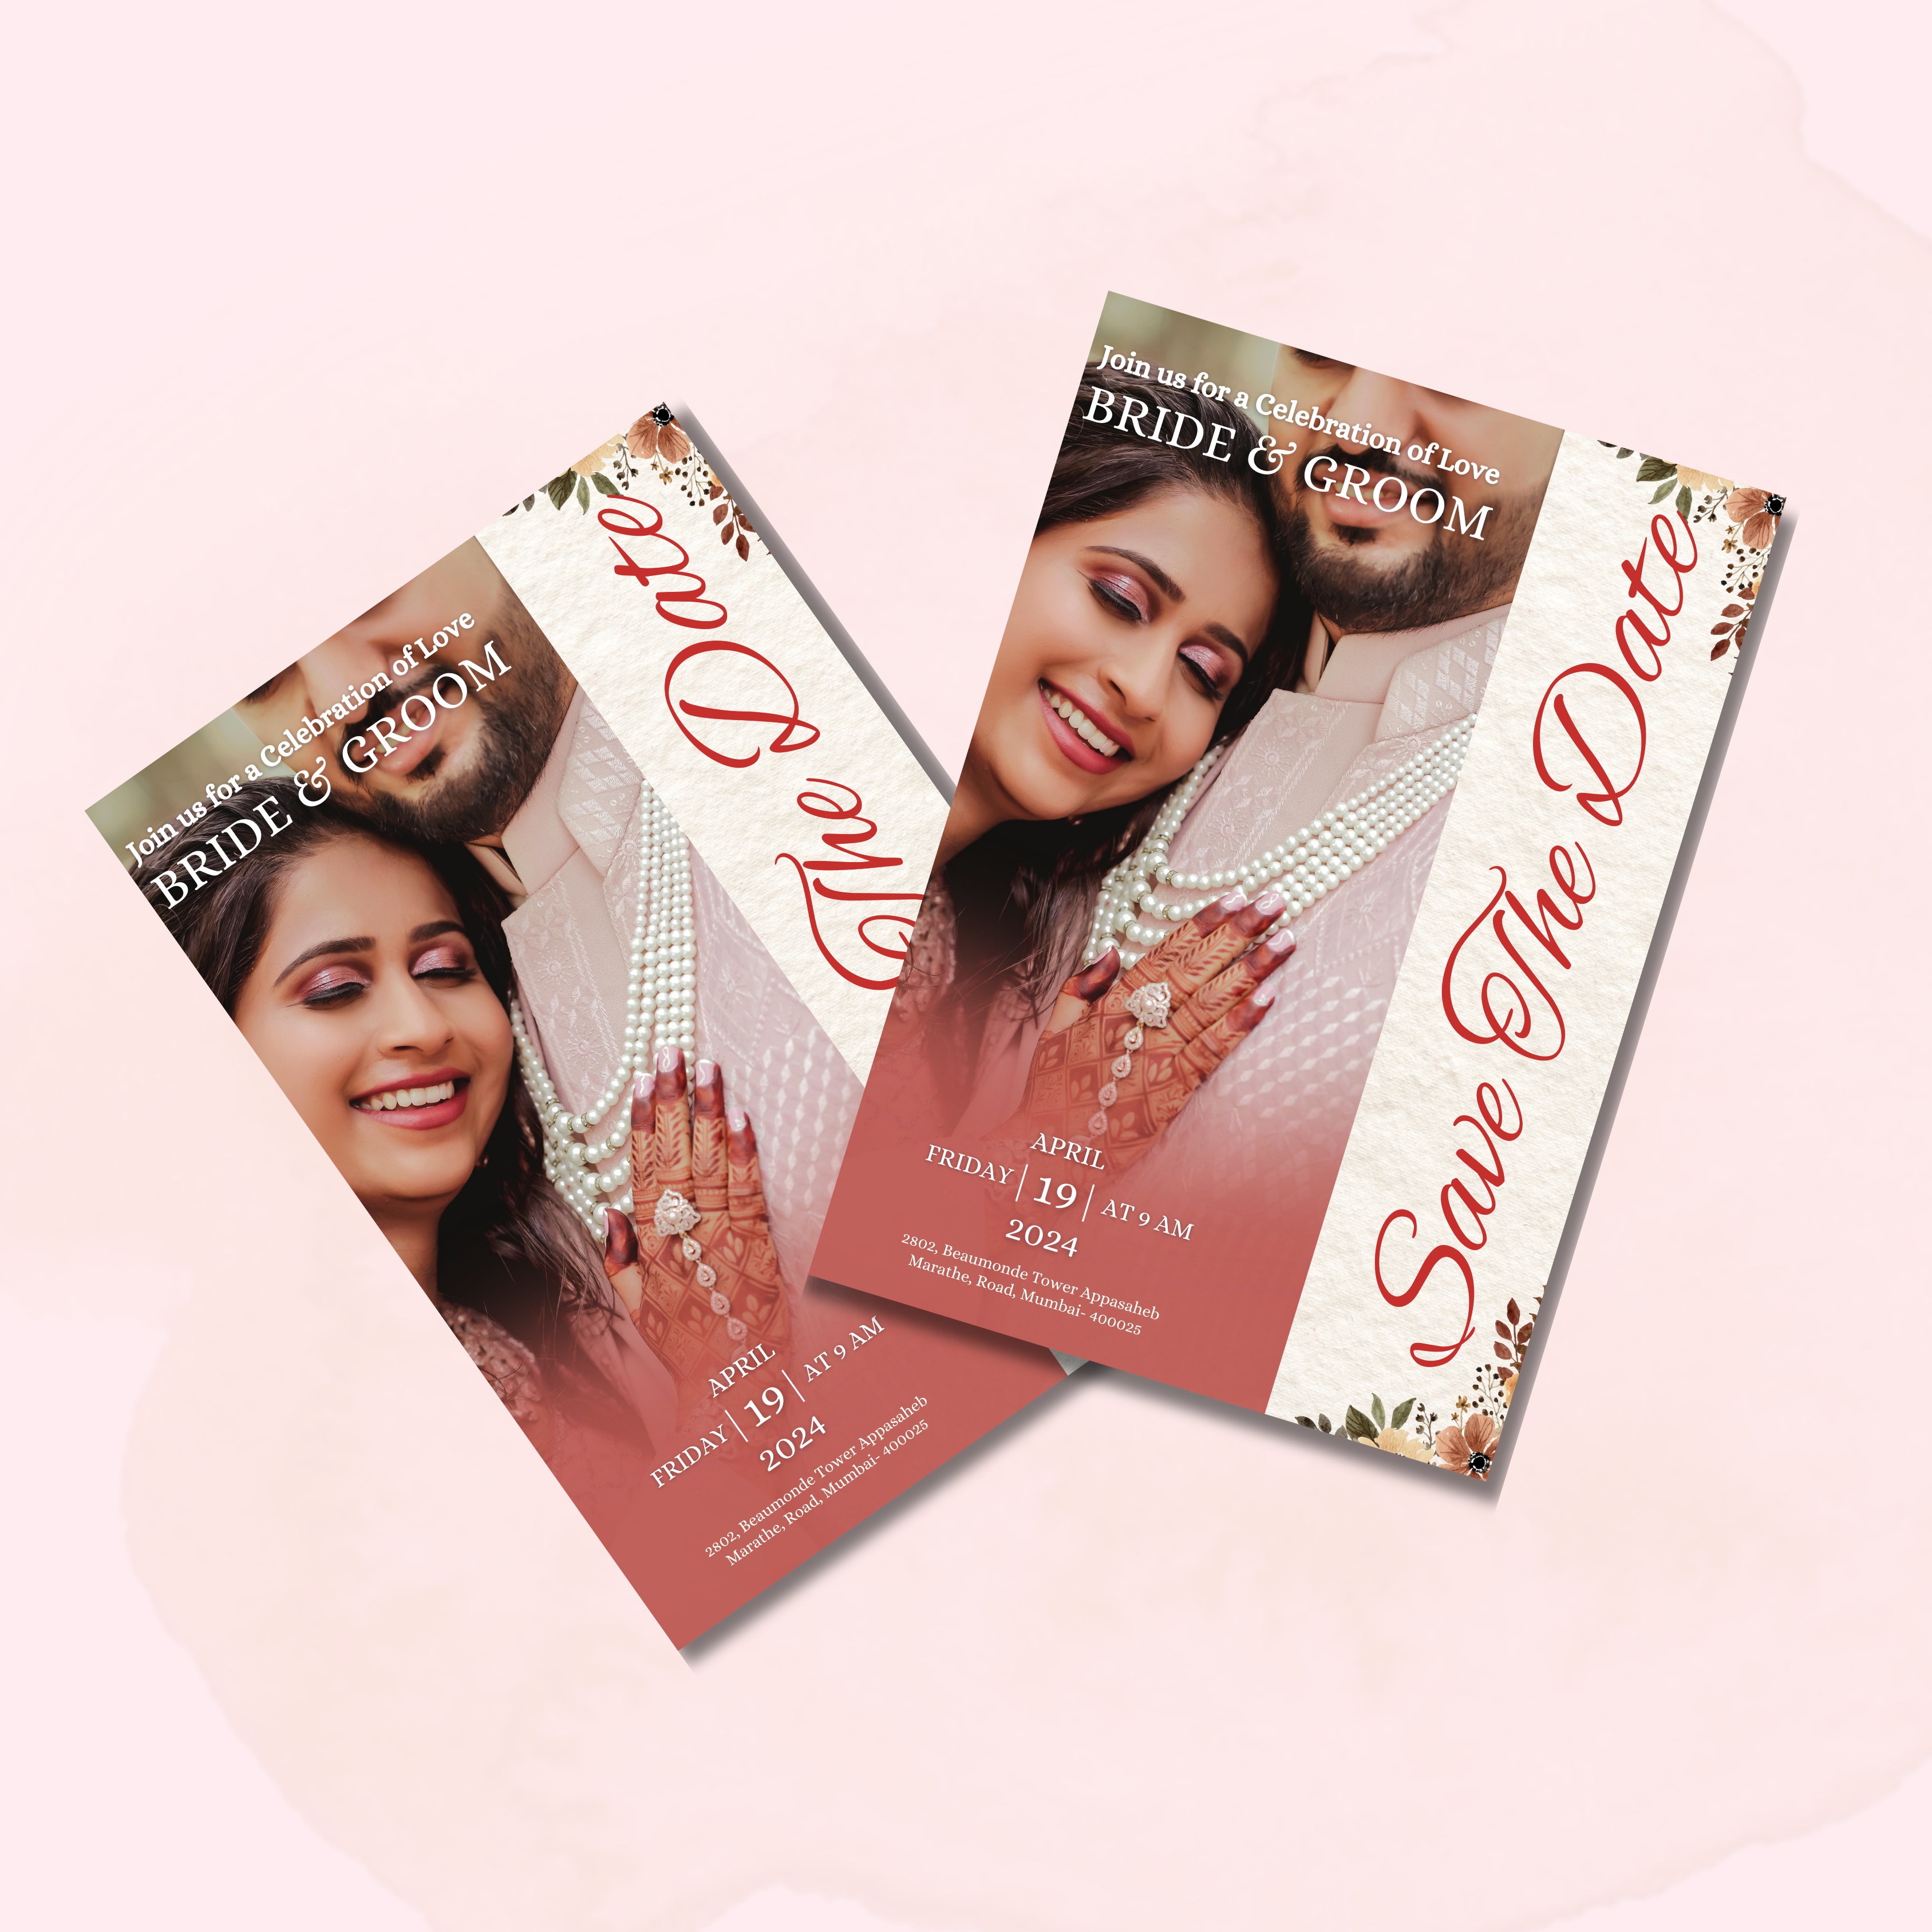
Creating photo collage save-the-dates is a thoughtful and creative way to announce your wedding. By combining your favorite pictures into a single design, you can highlight key moments from your relationship, from the excitement of your first date to recent shared adventures. Photo wedding invitations gives your guests a personal and intimate look at your journey together, turning your DIY save-the-dates into a heartfelt keepsake that they will remember and cherish.
Step-by-Step to Create from Home
Creating a photo collage at home is simpler than it seems. Choose high-quality photos that reflect your personalities and relationship milestones. Once your design is ready, print it on cardstock or glossy photo paper for a professional finish.
Tips for Personalization
- Include captions or short messages under each photo to tell your story.
- Stick to a consistent color palette to maintain a cohesive and elegant look.
- Highlight your wedding date prominently so it remains the focal point.
Photo collage DIY save-the-dates are highly versatile and can suit a range of styles, from fun and casual to elegant and classic. They give your guests a glimpse into your love story, acting like a small photo album. Beyond being a simple reminder of your wedding date, these collages become keepsakes that friends and family can treasure for years, adding a personal and lasting touch to your announcement.
3. Digital DIY Save the Dates
Green and Trendy Option
Digital save-the-dates offer a modern and eco-friendly way for couples to share their wedding details. By opting for DIY digital invitation, you can instantly reach your guests while reducing the need for printing and postage, making it a cost-effective and sustainable option. This method works especially well for couples who are tech-savvy or have friends and family scattered across different locations, combining convenience, style, and environmental responsibility in one solution.
Materials Needed
You don’t need extensive skills or expensive software to design digital save the dates. Free online tools like Canva, Adobe Express, or even PowerPoint make it easy to create visually appealing designs. You can choose templates that match your wedding theme, insert images, add text, and even include animations or GIFs to make the announcement lively and engaging. Once designed, these digital cards can be exported as JPEG, PNG, or PDF files and shared via email or social media platforms.
Tips for Personalization
- Incorporate your wedding colors, fonts, and motifs for a cohesive look.
- Include a short video clip or animated elements to make the announcement interactive.
- Keep the text clear and concise, highlighting the date, location, and essential details.
- Add links to your wedding invite website for RSVPs or additional information.
Digital DIY save-the-dates are convenient, trendy, and easy to personalize. They let you showcase your unique personalities in a creative way, while guests can keep them on their phones or tablets, making it simple to remember your wedding date. This modern approach blends style, fun, and practicality, offering a personalized experience that everyone
4. Rustic Kraft Paper Save the Dates
Eco-Friendly Choice
Rustic kraft paper save the dates are perfect for couples seeking a warm, natural, and vintage-inspired look. This style complements outdoor, farmhouse, boho, or garden-themed weddings beautifully. By creating DIY save the dates with kraft paper, you achieve a handcrafted aesthetic that feels personal, timeless, and inviting. The earthy tone of kraft paper offers a neutral yet elegant backdrop, allowing your text, designs, or embellishments to stand out.
Materials Needed
To craft these wedding celebration invitations at home, you will need kraft paper cardstock, calligraphy or gel pens, and optional decorative accents like twine, lace, or pressed flowers. Rubber stamps and ink pads can also add extra charm with patterns, motifs, or initials. A paper cutter ensures clean edges, while a bone folder can help achieve neat folds if making folded cards.
Tips for Personalization
- Use hand-lettered calligraphy for names, dates, and locations to make the card feel unique.
- Tie each card with a piece of twine or lace for a rustic, elegant finishing touch.
- Incorporate small pressed flowers, leaves, or wax seals for a natural, sophisticated accent.
- Experiment with stamping floral patterns or geometric designs to match your wedding theme.
Rustic kraft paper DIY save the dates combine simplicity, creativity, and eco-consciousness, making them both attractive and meaningful. Guests will appreciate the handcrafted effort, as each card reflects thoughtfulness and attention to detail. These save the dates set a charming tone for your wedding while remaining cost-effective and customizable.
5. Magnet Save the Dates
Practical and Memorable
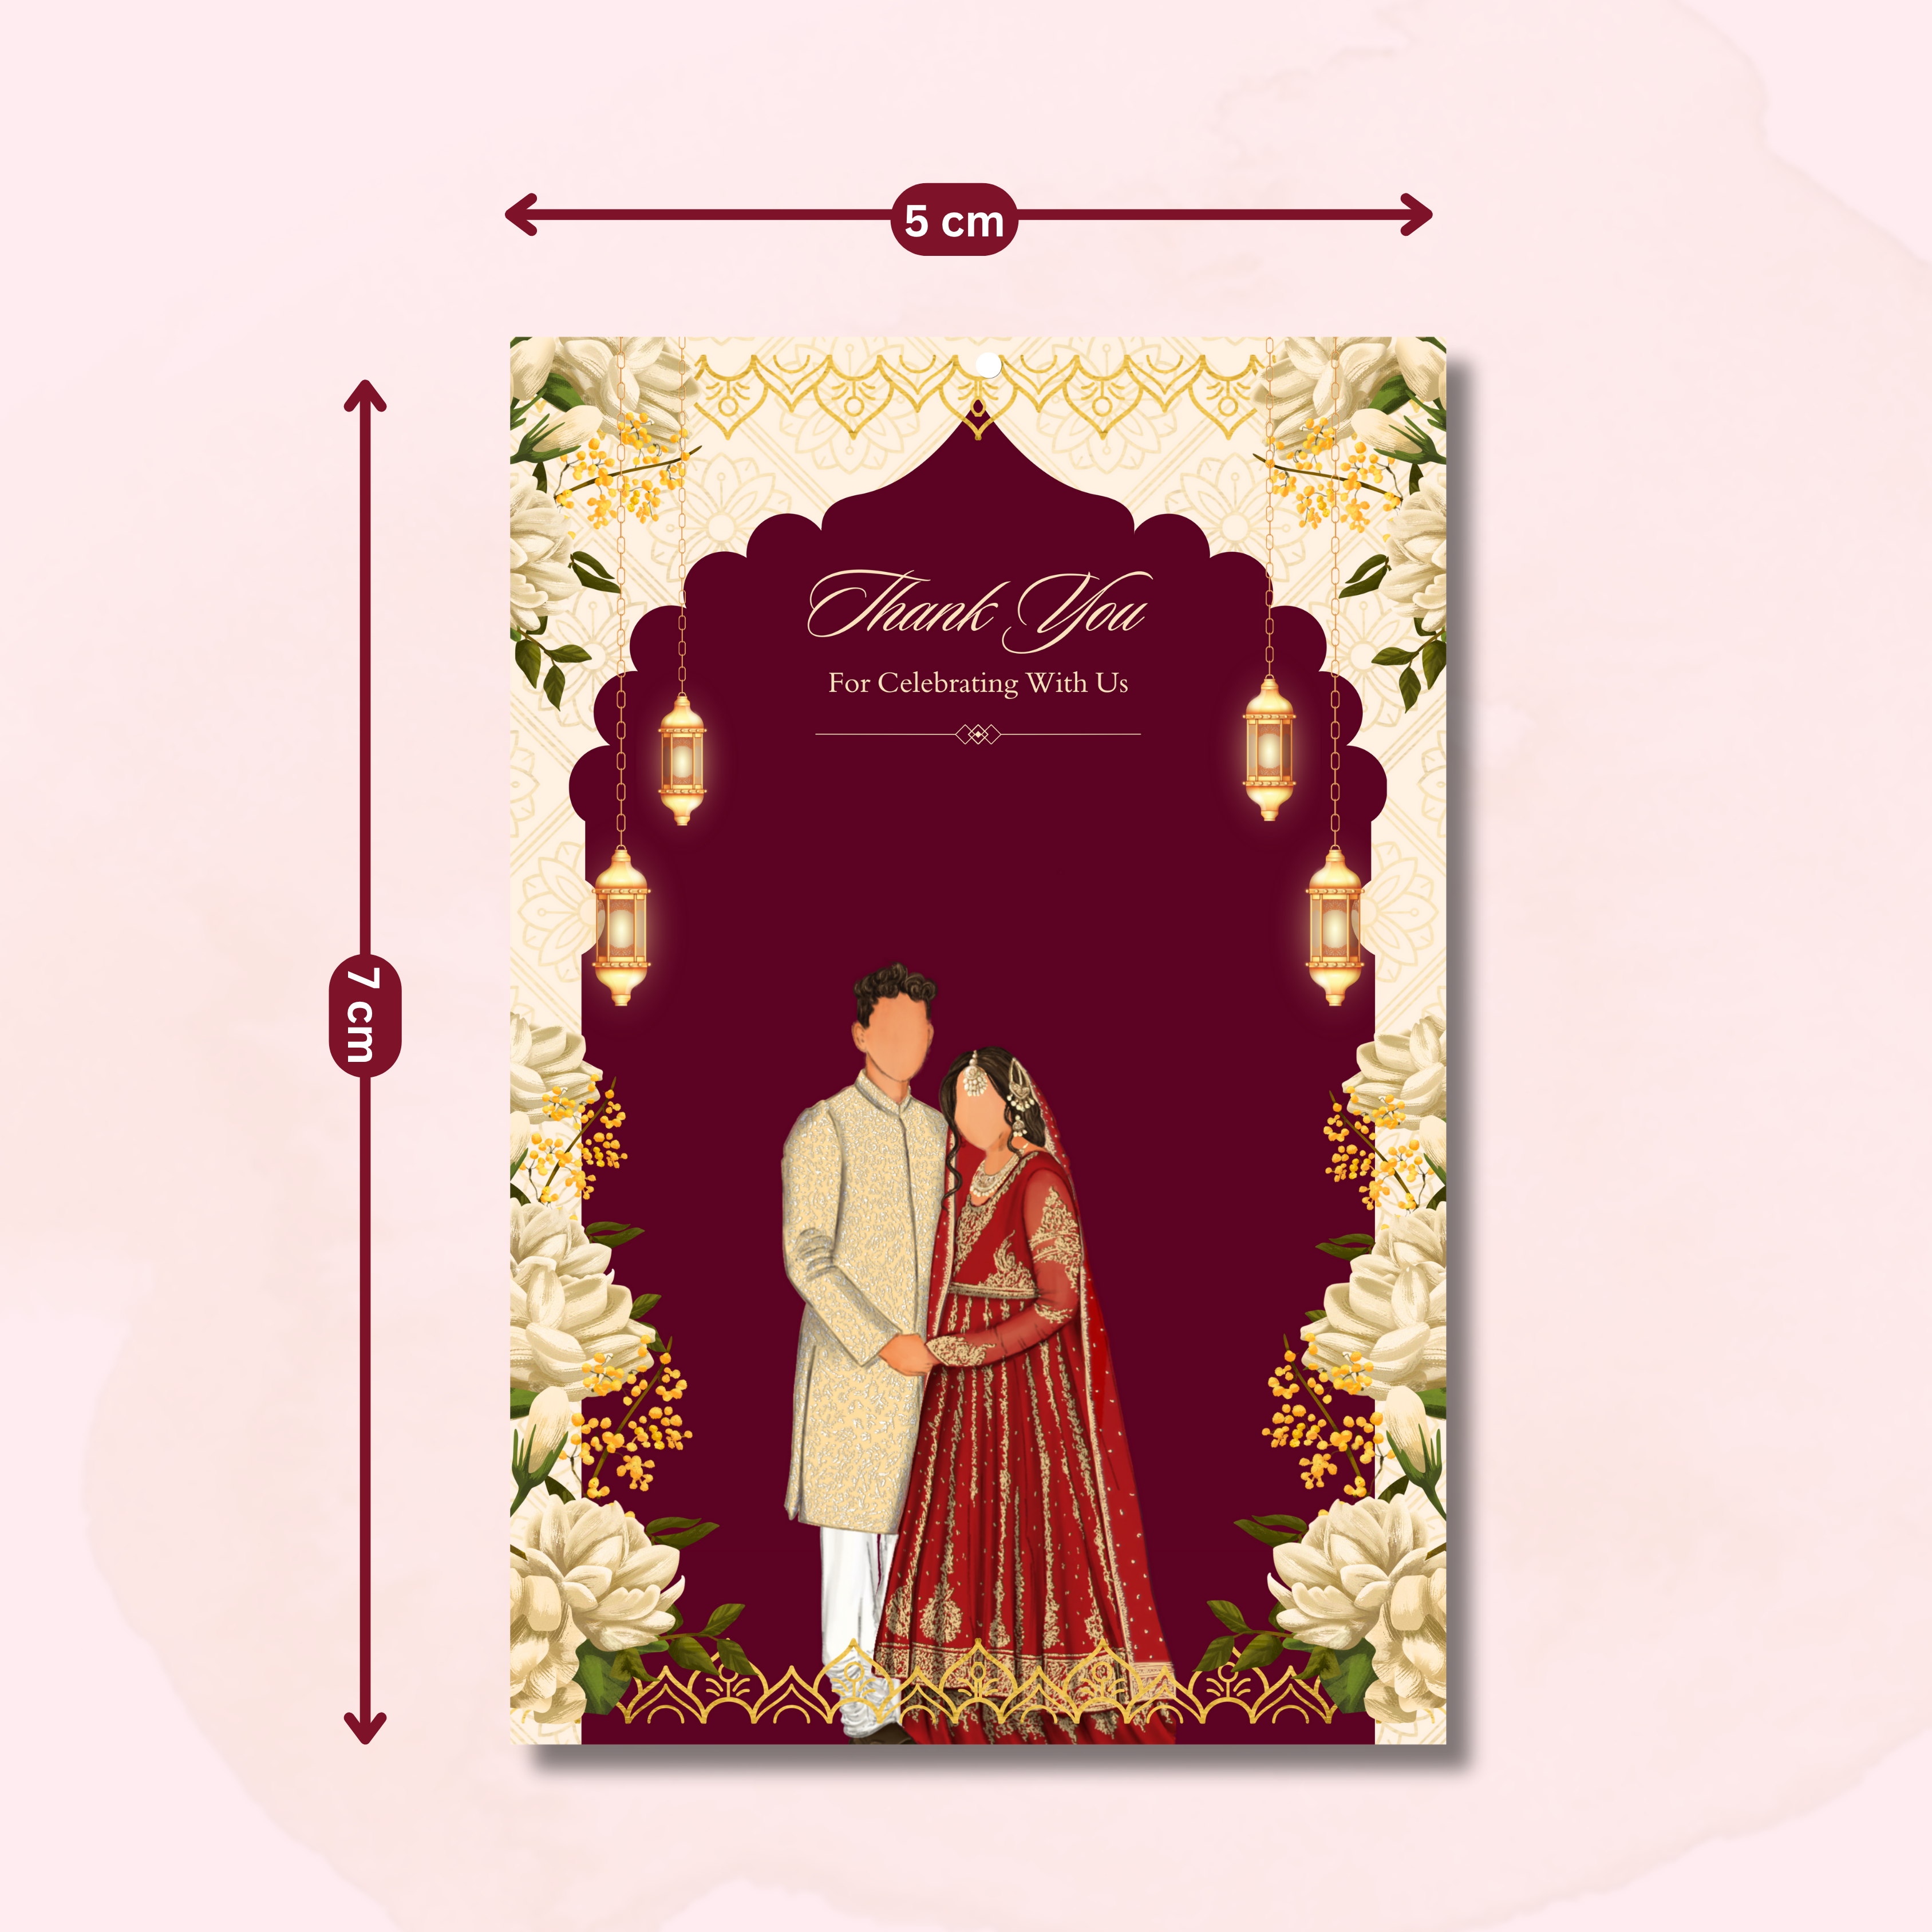
Magnet save the dates are a fantastic way to ensure your wedding announcement remains in front of your guests at all times. Unlike traditional wedding cards that can easily get misplaced, magnets stick to refrigerators or office boards. Choosing a DIY save the dates magnet allows you to combine creativity with practicality, giving guests both useful and memorable keepsakes.
Checklist of Materials
To create magnet save the dates at home, start with printable magnetic sheets, which are widely available at craft stores or online. You can design wedding invitations digitally, then print them directly onto the magnetic sheets. Once printed, carefully cut the magnets into shapes such as rectangles, circles, or hearts. Optional decorative elements like stickers, small embellishments, or hand-drawn doodles can add a personal touch to the final product.
Creative Ways to Improve Your Design
- Feature a favorite photo of you as a couple to make it more personal.
- Highlight your wedding date with bold fonts or contrasting colors so it’s easily noticeable.
- Experiment with creative shapes or themed designs that reflect your wedding style.
- Include minimal text to keep the magnet visually clean and appealing.
Magnet DIY save the dates are ideal for couples who want something long-lasting, functional, and stylish. They not only inform guests about your wedding but also serve as a charming memento. By taking the time to craft these magnets at home, you add a personal touch that shows thoughtfulness.
6. Polaroid-Inspired Save the Dates
Nostalgic and Personal
Polaroid-inspired wedding save the date cards are a charming way to combine nostalgia with modern creativity. These cards mimic instant photographs, complete with white borders and space for handwritten details, giving each announcement a warm, personal feel. By crafting DIY save the dates in this style, couples can create a keepsake that feels both intimate and memorable.
Materials Needed
To make Polaroid-style save the dates at home, you will need sturdy cardstock or photo paper, a printer, and pens. Cut the paper into the classic Polaroid shape, leaving a larger white border at the bottom for writing your details like names and wedding date. Optional materials like stickers, stamps, or small embellishments can enhance the design and add a playful or elegant touch depending on your wedding theme.
Tips for Personalization
- Use your favorite couple photos as the centerpiece, choosing images that capture your personalities or memorable moments.
- Write short captions or fun messages on the white border, such as “We’re Getting Married!” or “Save the Date!” to make it lively.
- Attach each Polaroid to a mini clothespin, string, or small envelope for creative presentation.
- Consider adding subtle decorations like doodles, floral patterns, or gold accents to reflect your wedding colors.
Polaroid-style DIY save the dates are both stylish and interactive. Guests can display them at home, making them a lasting keepsake that evokes nostalgia and excitement for your special day. This creative idea adds personality and charm while keeping the process fun and personal.
7. DIY Save the Dates with Calligraphy
Graceful and Everlasting Look
Incorporating calligraphy into your wedding invitations brings a sense of elegance and charm that is hard to match. Handwritten save-the-dates feel personal and sophisticated, making each card truly special. By designing your own DIY save-the-dates using calligraphy, you can add your unique touch and reflect your personalities and wedding theme. This approach creates a timeless and classy feel, perfect for couples who want their announcements to stand out without depending on standard printed wedding invitations.
Materials Needed
To start, you’ll need high-quality cardstock or smooth paper that works well with ink. Calligraphy pens, brush pens, or traditional dip pens with ink provide the flexibility to create beautiful lettering. Beginners can also use stencils or practice sheets to achieve neat, consistent strokes. Optional decorative elements like gold or silver ink, embossing powders, or small floral illustrations can enhance the final result.
Tips for Personalization
- Use modern calligraphy styles for a contemporary feel or classic scripts for a timeless look.
- Incorporate your wedding colors in the ink or decorations to tie the save the dates to your overall theme.
- Add subtle accents like watercolor washes, stamped motifs, or small illustrations to make the cards unique.
- Keep the text clear and concise, highlighting essential details like names, wedding date, and location.
Calligraphy-based DIY save the dates are elegant, personal, and memorable. They show your guests that effort and care went into every detail of your wedding preparations. These handcrafted cards set a sophisticated tone for your celebration and create a lasting impression that guests will cherish.
8. Seed Paper Save the Dates
Environmentally Kind and Meaningful
Seed paper save the dates are a beautiful way to combine sustainability with sentimentality. These cards are made from paper embedded with seeds, which guests can later plant to grow flowers, herbs, or plants. By creating DIY save the dates using seed paper, you not only share your wedding details but also give your guests a living, lasting memento of your special day. This approach is ideal for couples who are environmentally conscious or those who want to add a symbolic touch to their announcements.
Materials Needed
You can purchase pre-made seed paper sheets or make your own at home using recycled paper pulp mixed with seeds. To create your save the dates, you’ll also need sustainable ink or pens, stamps, and possibly water-based paint for decorative designs. Use thick, textured paper to ensure durability during mailing and handling. A paper cutter can help achieve neat edges for a polished look.
Tips for Personalization
- Highlight the wedding date and location clearly, using bold fonts or hand lettering.
- Decorate the card with small drawings of flowers, leaves, or patterns that complement the natural theme.
- Include planting instructions on the back to guide your guests in growing the seeds.
- Match the color palette of the ink or decorations with your wedding theme for a cohesive look.
Seed paper DIY save the dates are not only creative but also symbolic, representing growth, love, and new beginnings. Guests will remember your thoughtfulness as they watch flowers bloom, making these cards both practical and emotionally meaningful.
9. Puzzle Save the Dates
Fun and Interactive
Puzzle save the dates are a unique and playful way to announce your wedding while engaging your guests. By creating a small puzzle, you turn your wedding date into an interactive experience that excites and entertains. With DIY save the dates, this idea adds an element of fun that makes your announcement unforgettable. Guests receive the puzzle pieces, assemble them, and discover the wedding details, creating anticipation and a sense of involvement even before the big day.
Materials Needed
To make puzzle save the dates at home, you’ll need sturdy cardstock or thin cardboard, a printer, and a craft knife or scissors to cut the pieces. You can design the card digitally, including your names, wedding date, and location, then print it before cutting it into puzzle shapes. Optional items include envelopes, small boxes, or organza bags to package the puzzle pieces neatly for mailing.
Tips for Personalization
- Use a photo of you as a couple or a custom illustration as the puzzle background.
- Highlight your wedding date or a special message so it becomes the final piece revealed.
- Experiment with different shapes like hearts, squares, or rectangles to match your theme.
- Include a small note or instructions for assembling the puzzle, adding a thoughtful touch.
Puzzle DIY save the dates are memorable, interactive, and highly creative. They offer a unique way for guests to engage with your announcement and leave a lasting impression. By adding this fun, hands-on element, your save the dates become more than just reminders—they turn into keepsakes that guests will treasure and remember for years.
10. Video Save the Dates
Transforming Your Story into Reality
Video save-the-dates offer a modern and heartfelt way to share the news of your wedding. Instead of sending traditional paper invitations, a video allows you to include music, visuals, and emotions that bring your message to life. Creating your own wedding invitation video makes it possible to highlight special moments from your journey together in a fun and meaningful style. This not only sets the tone for your big day but also gives your guests a memorable experience they will treasure.
Materials Needed
Creating video save the dates at home is easier than ever with smartphones and free editing apps. Record short videos of memorable moments, such as your engagement, trips, or even fun casual clips together. You can also include voiceovers or background music that reflects your personalities or wedding theme.
Tips for Personalization
- Highlight key details like your wedding date, location, and names clearly within the video.
- Use a consistent color palette, fonts, and graphics to match your wedding theme.
- Keep the video concise—typically 30–60 seconds—to ensure guests watch it entirely.
- Share the video via email, messaging apps, or social media, making it easy for guests to save and revisit.
Video DIY save the dates combine creativity, emotion, and convenience, offering a modern alternative to traditional cards. Guests will appreciate the effort and personal touch, as these videos not only inform but also entertain, making your announcement memorable and setting a joyful tone for your upcoming wedding.
Conclusion
Creating your own DIY save the dates allows you to add a layer of personal meaning and uniqueness to your wedding announcement. Whether you’re into rustic designs, love digital innovation, or enjoy crafting by hand, there’s a DIY idea for everyone.
Plus, by designing and assembling your own cards at home, you can save a significant amount of money.
Remember to start your DIY projects early, test your materials before making bulk copies, and involve your partner or bridal party in the fun. With these top 10 DIY save the date ideas, you’re all set to announce your wedding in your own way.